In Part 1 of this series, you sketched out your dream farm and sorted your “must‑haves” from your “nice‑to‑haves.”
In Part 2, you turned that vision into a real‑world layout with buildings, fences, and chore routes that make sense for you, and picked out your animals.
Now, in Part 3, we’re walking through those plans one last time before feathers and/or hooves hit the ground, so your new residents arrive to a farm that’s safe, sane, and ready for them.
Part 3: Putting It All Together
The layout’s set, your animals are chosen, and the barns or coops are standing by. Tools are hung, feed is stocked, and treats are tucked away in bins.
You’re almost ready to bring your new critters home! Almost.
Before you open the crates or trailer gate, let’s make sure everything truly is ready.
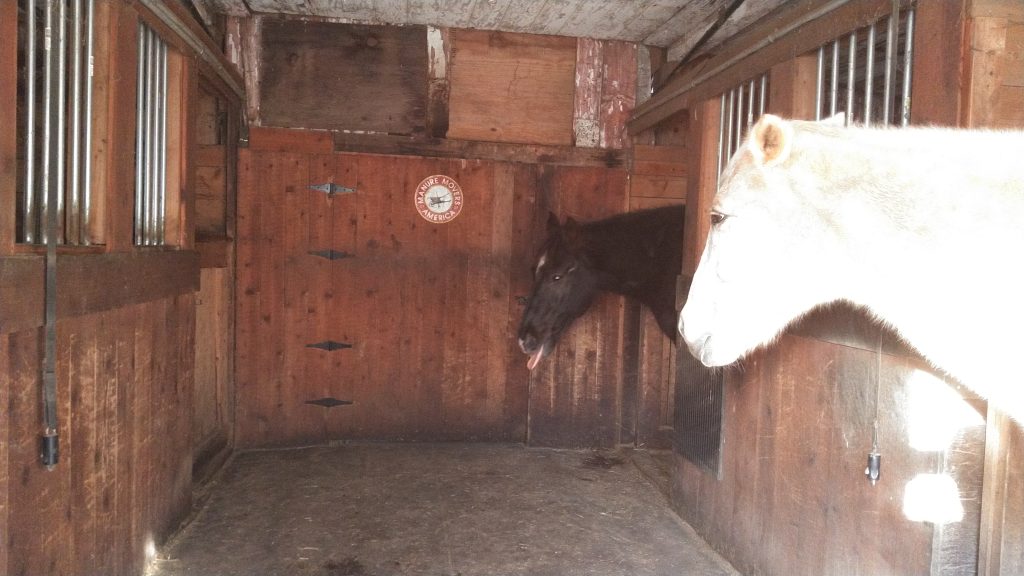
Walk Your Buildings
Start with your buildings. Run your hand along walls and doorways, and look for any nails, screws, or hinges that aren’t sitting flush so no one gets snagged. Patch cracks or gaps with wire, wood, or steel, remembering that small predators like rats and weasels can squeeze through surprisingly tiny holes the size of a quarter or less.
Then, check from top to bottom: rafters, corners, and the floor line where critters like to sneak in. A quick inspection now can save you from a bad surprise later.
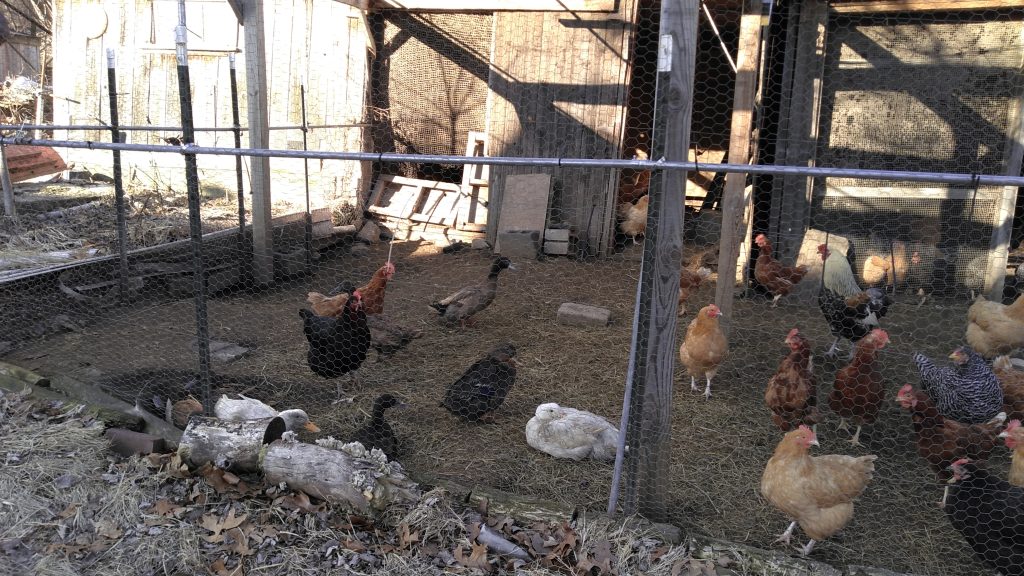
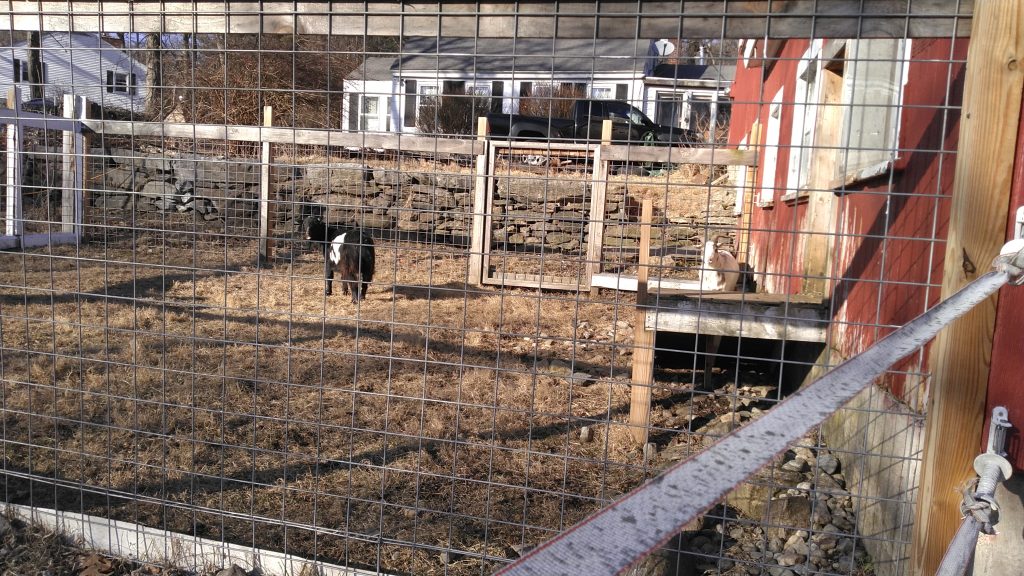
Test Your Fences and Gates
Next up: fences and gates. Give each post and board a good shake and fix anything loose or splintered. Make sure nails or screws aren’t sticking out where skin or hides can catch.
Work every gate. Latches should be secure but easy for you to open. Because while livestock don’t have thumbs – noses, lips, and tongues can be alarmingly effective when there’s grain or freedom on the other side.
See It Like an Animal
Now comes the part that looks a little silly but works wonders: get low. Crawl around inside the building and along the fence line so you see everything from an animal’s point of view.
That’s right, on hands and knees. You may want to do this when no one’s around. Or maybe you want the neighbors to think you’re a bit crazy. Your choice!
That half-covered gap at ground level might be the perfect predator doorway. That “just right” bottom fence board might actually be the ideal height for a determined goat or mini horse to slither under. While you’re down there, check that feed and water are at a comfortable height for your smallest critters.
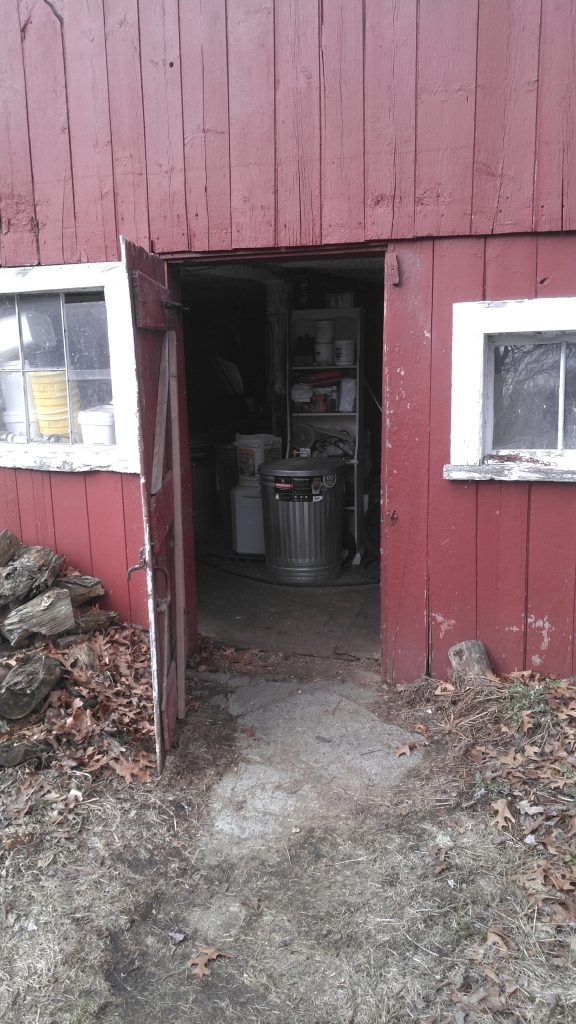
Try a Dry Run
Those tools look great all lined up, but now it’s time to test them. Do a pretend chore run: scoop imaginary poop into the muck bucket, drag it to the compost pile, and see how it feels.
Now imagine doing that same route in a foot of water, two feet of snow, or boot-sucking mud. If it seems miserable or impossible in bad weather, this is your chance to rearrange before real life (and real mess) arrives.
Do the same with your feed setup. Are grain, supplements, and treats stored close to your feeding stations? Can you fill and carry buckets without running an obstacle course every day?
Build In a Safety Net
If you can, set aside a simple quarantine or sick pen. Nothing fancy, just safe, separate, and secure. A small, prepared space makes it much easier to bring new animals in slowly or give a not-feeling-great critter some quiet time.
If your area requires any inspections or permits, this is the moment to get them checked off the list. It’s a lot less stressful to handle paperwork before there are living beings that might have to be moved temporarily to appease a rule you might have missed.
Capture the “Before” Moment
Once everything is in place, take pictures. Lots of pictures. Snap the tidy feed room, the swept floors, the perfectly stacked tools.
Why? Because it will never look quite this clean again.
Animals add “personality” fast: dust, scratches, poop and urine stains, a ding in a board, maybe a creative new opening where a window used to be. Perfection doesn’t last long, but what replaces it is better: a place that feels lived in, useful, and full of life.
Then You Adjust
The routine you planned on paper will shift once real animals are on the ground. You’ll tweak feeding routes, move buckets, swap tools, and slowly build a rhythm that works for you and your herd or flock.
That’s the part you can’t fully plan. The part that makes your farm yours, not a copy of anyone else’s.
However your setup looks, fancy barn, repurposed shed, or something in between, what matters most is that it works, keeps everyone safe, and feels like home for you and your animals.
If you’ve made it this far in the series, you’ve already done the hardest part: you started!
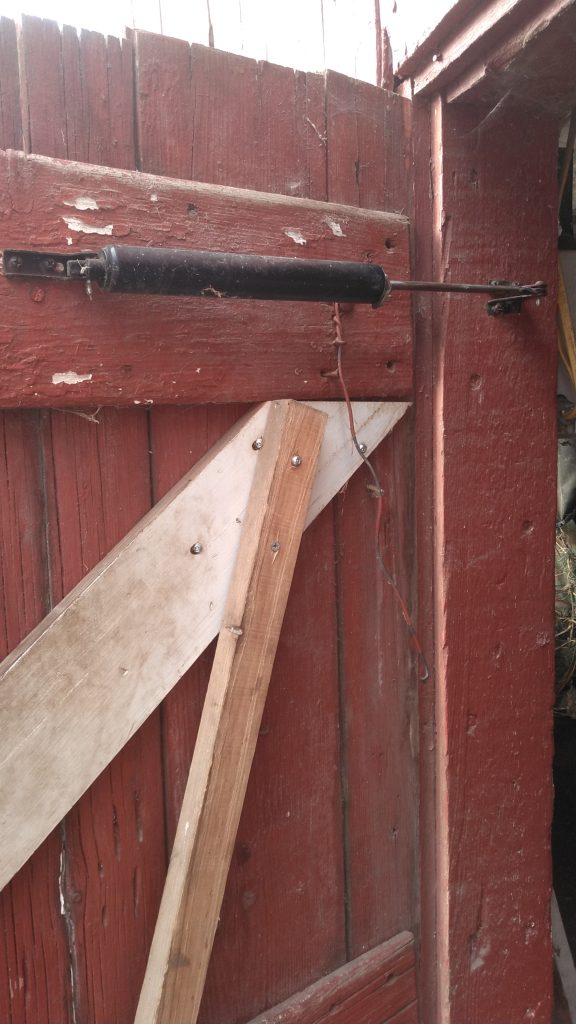
This Little Gizmo Solved My Door Problem!
Do you have a door on a building that just drives you nuts? Not because it’s hard to use or ugly (well, maybe that too, but bear with me), but because you need it to stay open while you’re working?
Maybe it’s the lawnmower shed door you’d like to keep open so you can drive in and out without stopping to fuss with it.
Or the barn door you need to stay open while you haul grain in to store it or out to feed your stock.
Or maybe it’s that infamous “problem door” that never stays open because your trusty rock or board (your improvised doorstop) always seems to grow legs and walk away. And of course, the minute you need to move through it, the door blows shut on you.
Here’s a simple, no-nonsense fix: install a storm door piston!
It keeps the door closed until you lock it open. And once locked, it’ll hold steady against bumps or wind until you’re ready to close it again.
Locking or unlocking takes all of two seconds. No keys, no tricks, just slide the piston lock. Then, when you close it up, let the piston do its job; don’t push it shut until it’s a couple inches away from closing on its own.
Add piston locks to your problem doors – you’ll thank yourself every time you use them.
A quick word of caution: don’t use these on doors where animals can slip through. They’ll dash out faster than cats looking for that catnip high!
.
Product Spotlight!
Here’s where to get one (or more) of those handy storm pistons!

Click to Read Previous Issues of This Newsletter
.
Click to Subscribe to This NewsletterYou can also subscribe by clicking on the “Subscribe” button on the top left of previous newsletters.
Interested in other newsletters?
Love what you read and want to help keep the lights on?
Click to Make a Voluntary DonationThis post contains affiliate links, which means I may earn a commission
if you click through and make a purchase through these links.
This post is intended for informational purposes only. All information provided does not constitute veterinary medical advice and should not be used as a replacement for professional veterinary consultation. I am not a veterinarian or any other medical professional. Please consult your veterinarian regarding any change in treatment or supplementation for your companion animal.
.