Time to turn dirt into dinner!
Nothing beats the taste of fresh produce straight from the garden: crisp veggies, sweet fruits, and fragrant herbs picked at their peak. The flavor, the color, even the smell, feel so alive.
But walk through a grocery store lately, and you might sometimes wonder if freshness has taken a vacation. Prices are climbing, and those tomatoes that supposedly came from “just down the road” often look like they’ve crossed several time zones before landing in the produce aisle.
Sure, the best commercial produce tends to come from local shops like Whole Foods or Trader Joe’s. They look good on the shelf and usually haven’t needed a passport to get there. But you still pay a premium.
When you grow your own, though, everything changes. You control what goes into the soil, when things are harvested, and which varieties end up on your plate.
The result? Vegetables and herbs with flavor that almost jumps out of the ground.
This three-part gardening series is designed to walk you through the gardening process. From finding your growing spot to selecting the best crops and keeping them healthy right through the season. Whether you’ve got acres of soil or just a sunny windowsill, there’s always room to grow something delicious.
Part 1: Choosing the Right Garden Location
Barnyard Basics: Scout Your Sunny Spot
Let’s start with step one: location, location, location!
Choosing where your garden will live is just as important as choosing what goes in it. Every successful garden starts with a space that’s easy to reach, easy to maintain, and friendly to the type of plants you want to grow.
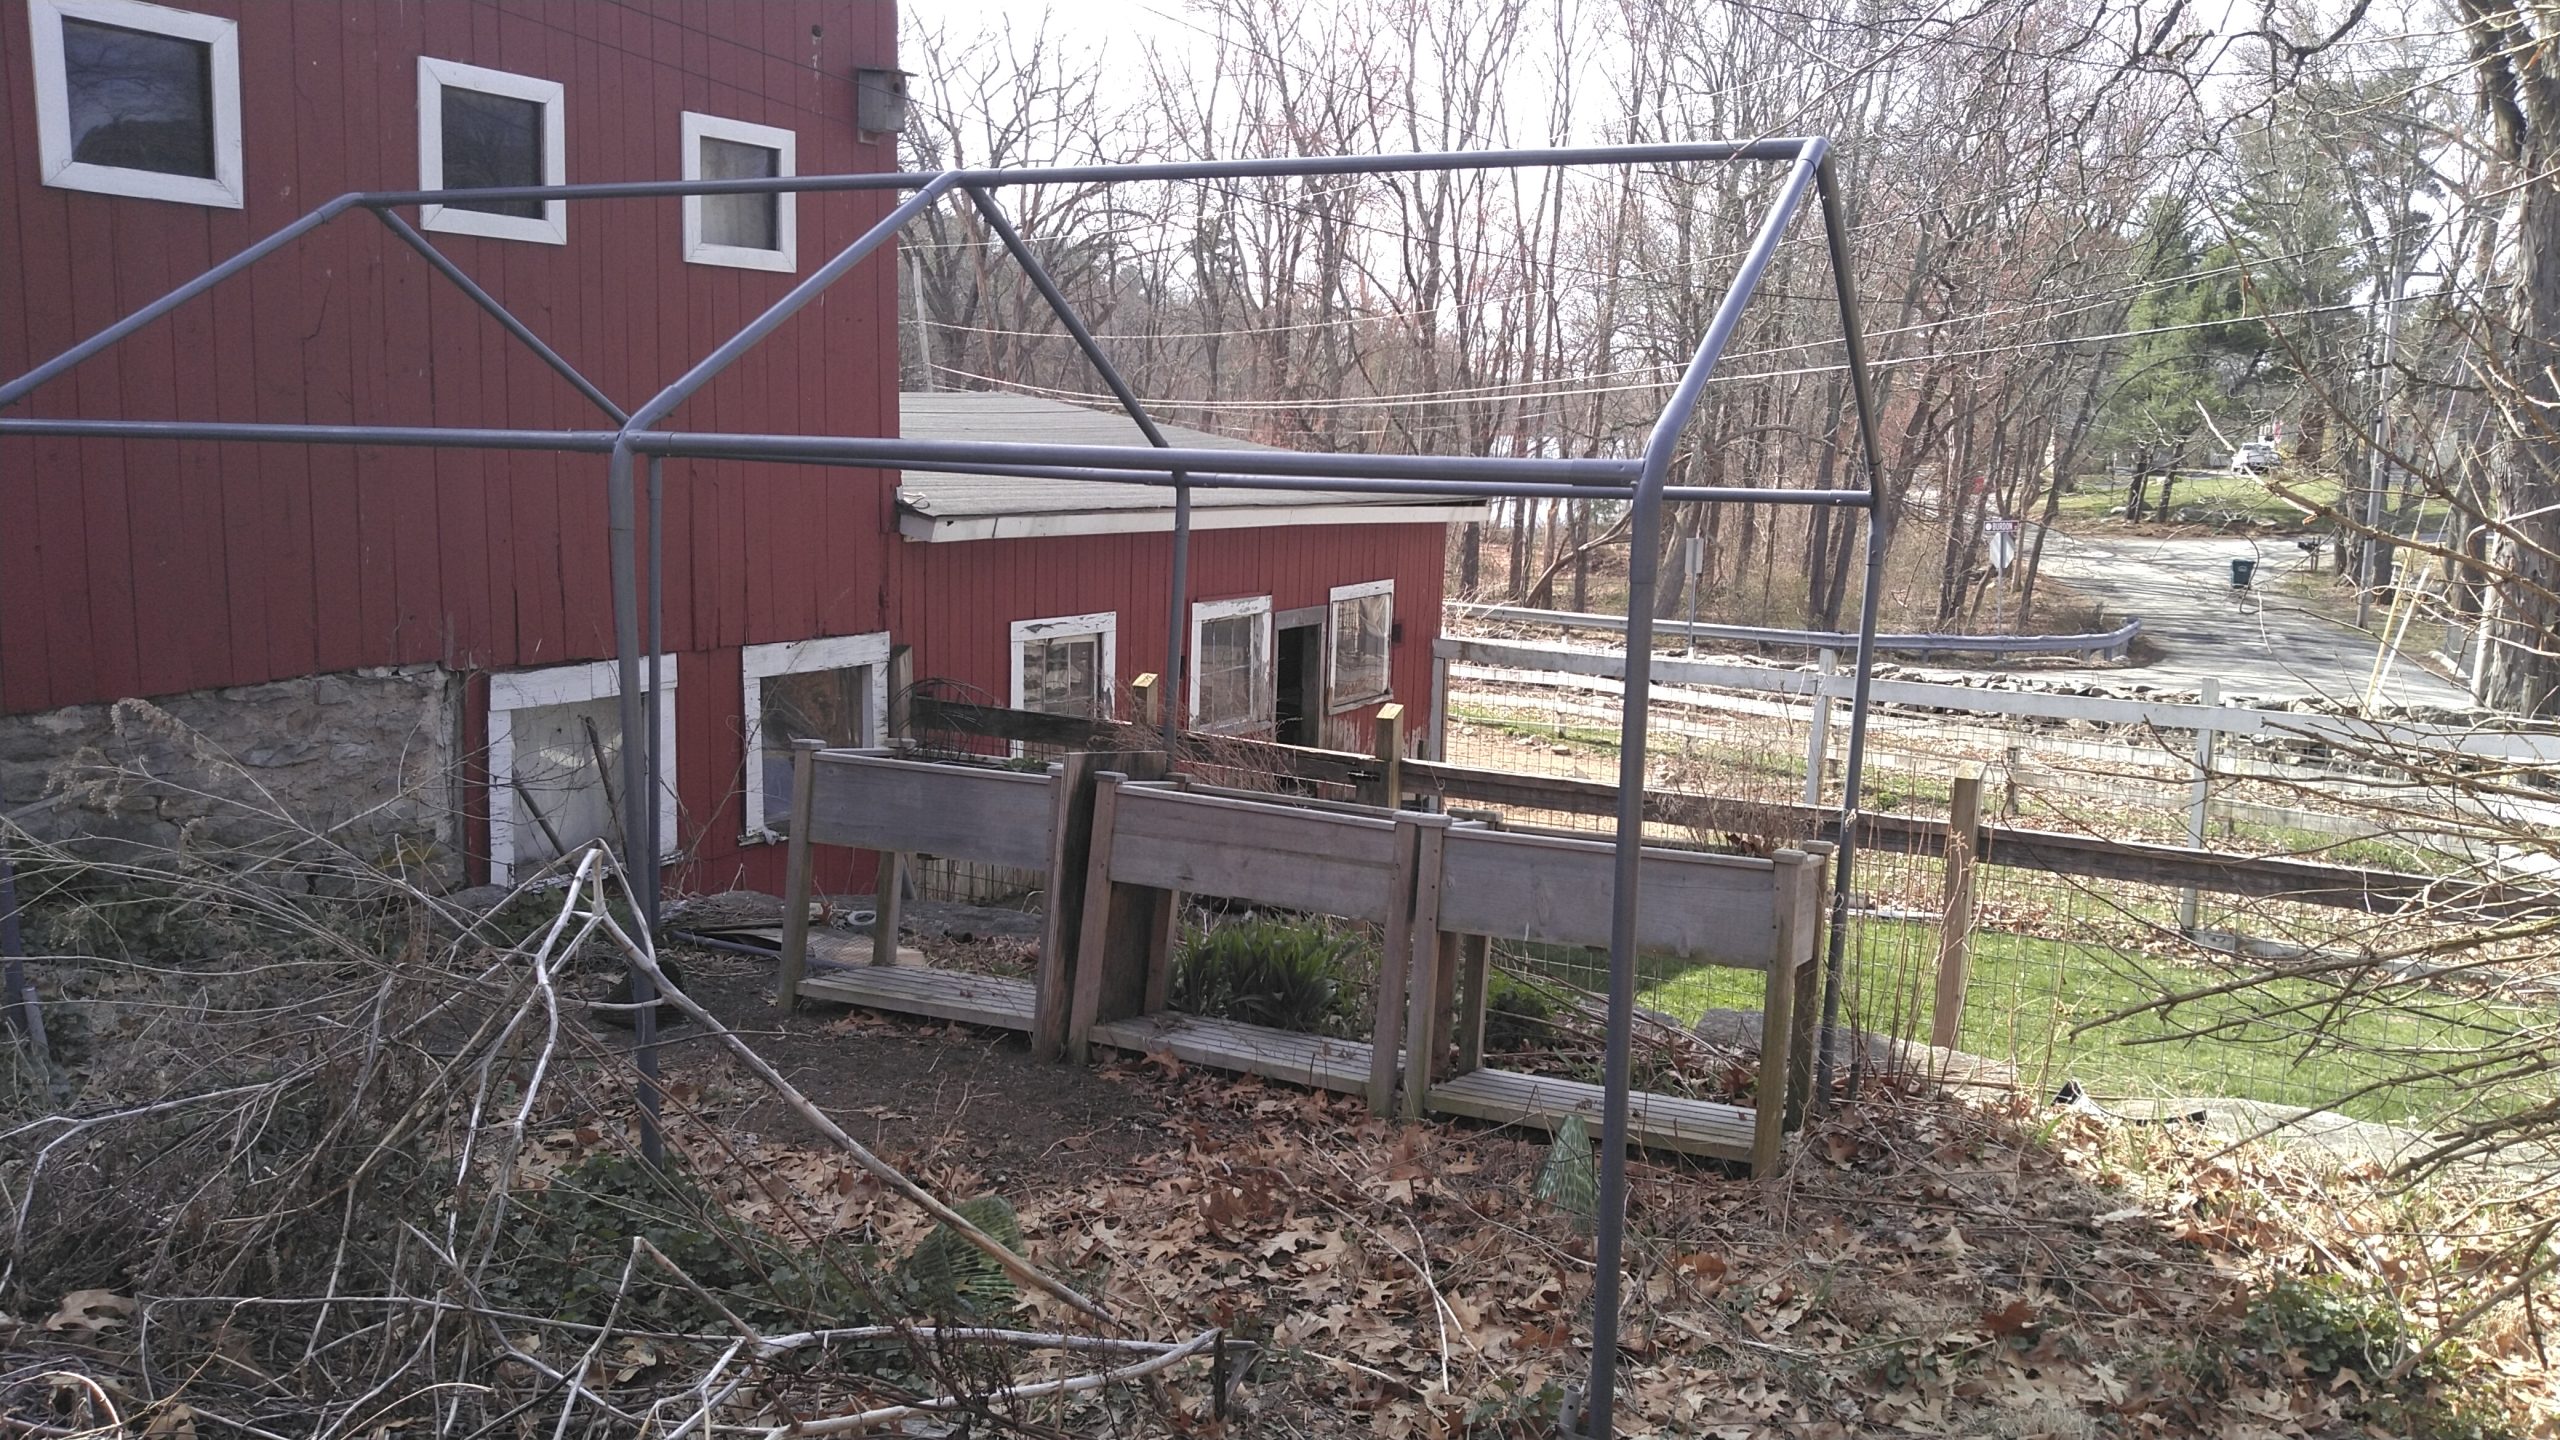
If you’ve got a little land, start by scouting out a flat area that receives good sunlight. Most vegetables and herbs thrive with six to eight hours of direct sun per day.
Think about convenience, too. You’ll want a spot close to water, your shed or tool area, and preferably not across the yard where you’ll dread lugging a hose.
A bit of partial shade can be helpful, especially if your climate gets intensely hot in summer. And skip areas crowded with trees or thick shrubs that could compete for nutrients or cast too much shade.
Here’s a good test before planting: this one might drive your neighbors crazy!
Be a plant!
Stand in different parts of your yard for a few minutes every few hours. Notice where the light falls and how warm it feels. Be one with the environment.
You’ll quickly find your just‑right sweet spot for growing!
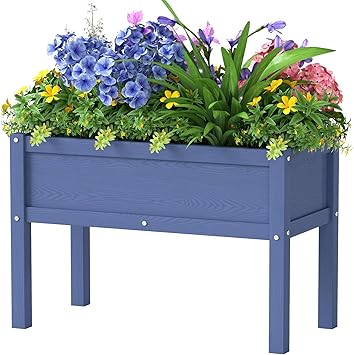
Raised Bed Roundup: Knees & Backs Thank You

If your ground soil is rocky, uneven, or just plain difficult to work with, raised beds can save you a ton of frustration. They let you control your soil quality from the start, reduce weed issues, and often make watering easier. Plus, they look neat, like tidy little garden islands.
Raised beds are also easier on your knees and back. You can sit or stand rather than crouch over the ground for hours. If mobility is a concern, building your beds waist-high or even on wheels keeps gardening accessible for everyone.
Start with sturdy untreated wood, metal, or composite material and line the bottom with hardware cloth or galvanized mesh to keep burrowing critters out.
You can fill raised beds with a mix of topsoil, compost, and organic matter like leaf mold or peat moss. Don’t forget to check drainage! More on that shortly.
Once your soil’s balanced, you’ll have a mini ecosystem ready to feed your plants from seed to harvest.
Pot Luck Paradise: Grow Anywhere
No yard? No problem!
Many of the best herbs and greens grow beautifully in containers. Pots come in all shapes and sizes, from simple terracotta to decorative planters with built-in reservoirs.
For versatility, use a mix of small pots for herbs and larger ones for vegetables like peppers, tomatoes, or eggplant.
Outdoor containers are ideal. A sunny balcony or windowsill works wonders for basil, green onions, chives, lettuce, and microgreens. If natural light is limited, LED grow lights make up the difference.
The goal is to give plants roughly the same daylight hours they’d get outside, around 10 to 14 per day for most edible varieties.
When planting in pots, pay attention to depth. Lettuce and herbs don’t need much room, but root crops like carrots or radishes prefer deep containers so they can stretch out.
Keep watering consistent; containers dry faster than ground plots. And rotate your pots every few days for even light exposure. It’s amazing how much food you can grow in just a few square feet!
Soil Scoop: The Secret Sauce
Whether you’re using ground soil, raised beds, or pots, drainage makes or breaks your garden.
If your soil turns into sticky clay after a light rain and holds water like a sponge, roots will suffocate.
On the other hand, if water rushes through in seconds, your plants might feel like they’re stranded in a miniature desert.
Good garden soil drains moderately. Think of it like a wrung-out sponge: moist but not soggy.
For heavy clay, mix in sand, perlite, or compost to loosen it up. If soil is too porous, add organic matter like composted leaves or a bit of clay to help retain moisture.
Don’t hesitate to experiment! Soil texture varies wildly from yard to yard.
The final step is nourishment. Plants, much like us, need nutrients. Feed them organically whenever possible if your compost pile’s cooking. Compost, aged manure, worm castings, or even homemade fertilizer from kitchen scraps can keep your produce nutrient-rich.
Organic growing isn’t just healthier; it rebuilds soil over time and attracts helpful creatures like earthworms and pollinators.
Try pairing veggies and herbs in companion planting combinations. Marigolds repel pests near tomatoes, basil helps peppers grow stronger, and onions ward off aphids. You’ll spend less on insect control and get more out of your harvest.
What’s Next?
Once your space is sorted out and your soil is healthy and ready, you’ve laid the foundation for a truly productive growing season. In Part 2, we’ll dig into how to choose the right plant varieties: what grows best in your region, which crops complement one another, and how to plan for steady harvests from spring through fall.
Ready to dig in? Reply with your garden setup (pots, beds, or plot?) and share a pic if you’ve got one. I’ll feature the coolest ones in Part 2!
Hoof Soup SOS: One-Minute Water Rescue
You want nice, clean, clear, drinkable water for your animals, just like for yourself. But the critters don’t always cooperate!
If you’re using buckets and troughs for water for your larger animals (goats, horses, etc.), you’ll often find hay, leaves and other debris.
Cisco is terrible for this! He’ll stomp a dirty hoof, complete with dirt, leaves, and even manure, right into his water trough and splash away. What a mess!
Hanky and Fawn are notorious for pulling hay out of their feeders and tossing it in the water buckets. Why, oh why?
You can’t always just change 50 or more gallons of water every day, especially if you have well water instead of town water. What to do?
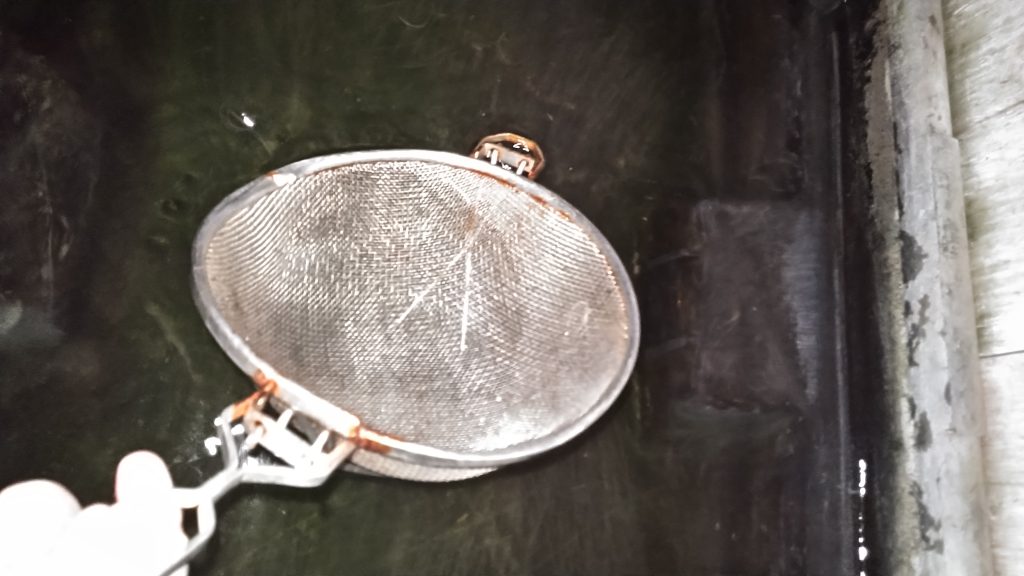
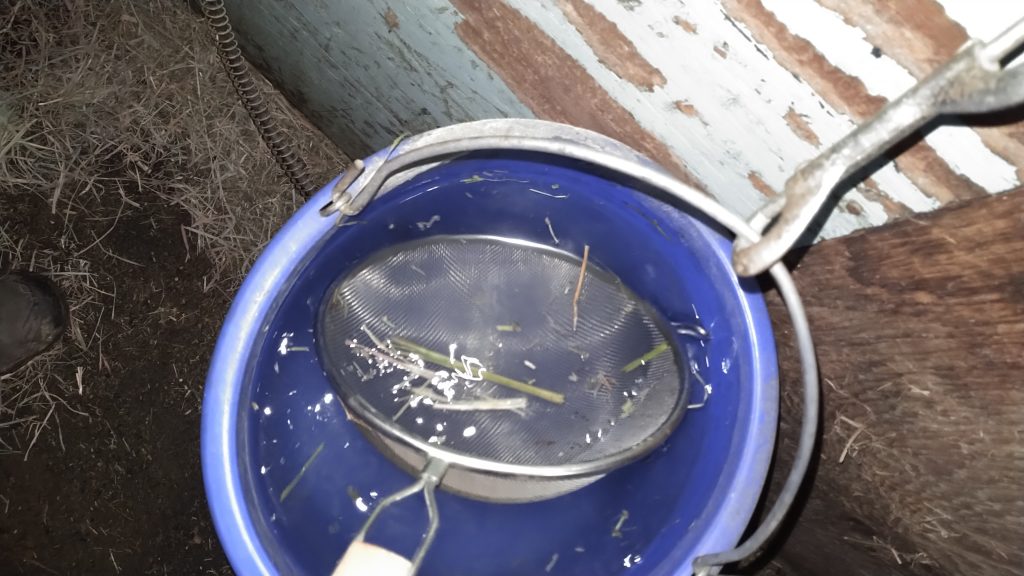
Use a strainer or pool skimmer and sift that unwanted stuff away! It takes less than a minute but grabs all that “stuff” so the water is drinkable again.
Of course, there comes a point when you have no choice but to change it out and scrub the waterer, but it saves running gallons a week through your well, especially during a drought. Your well, and your patience, will thank you.
.
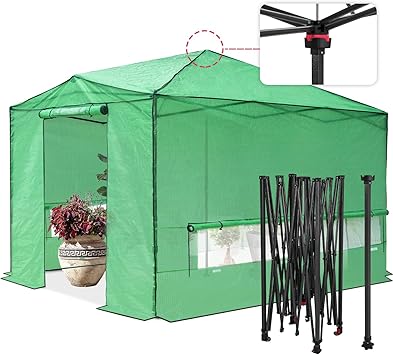
Product Spotlight!
Small commissions from the purchases of these products help support this newsletter.


.
Click to Subscribe to This NewsletterYou can also subscribe by clicking on the “Subscribe” button on the top left of previous newsletters.
Interested in other newsletters?
Love what you read and want to help keep the lights on?
Click to Make a Voluntary DonationThis post contains affiliate links, which means I may earn a commission
if you click through and make a purchase through these links.
This post is intended for informational purposes only. All information provided does not constitute veterinary medical advice and should not be used as a replacement for professional veterinary consultation. I am not a veterinarian or any other medical professional. Please consult your veterinarian regarding any change in treatment or supplementation for your companion animal.
.